How to paint ceramics
I’m sure many of you have gone to one of those places where you pick a ceramic pot, paint it, and, after a week or two, your creation is ready to pick up.
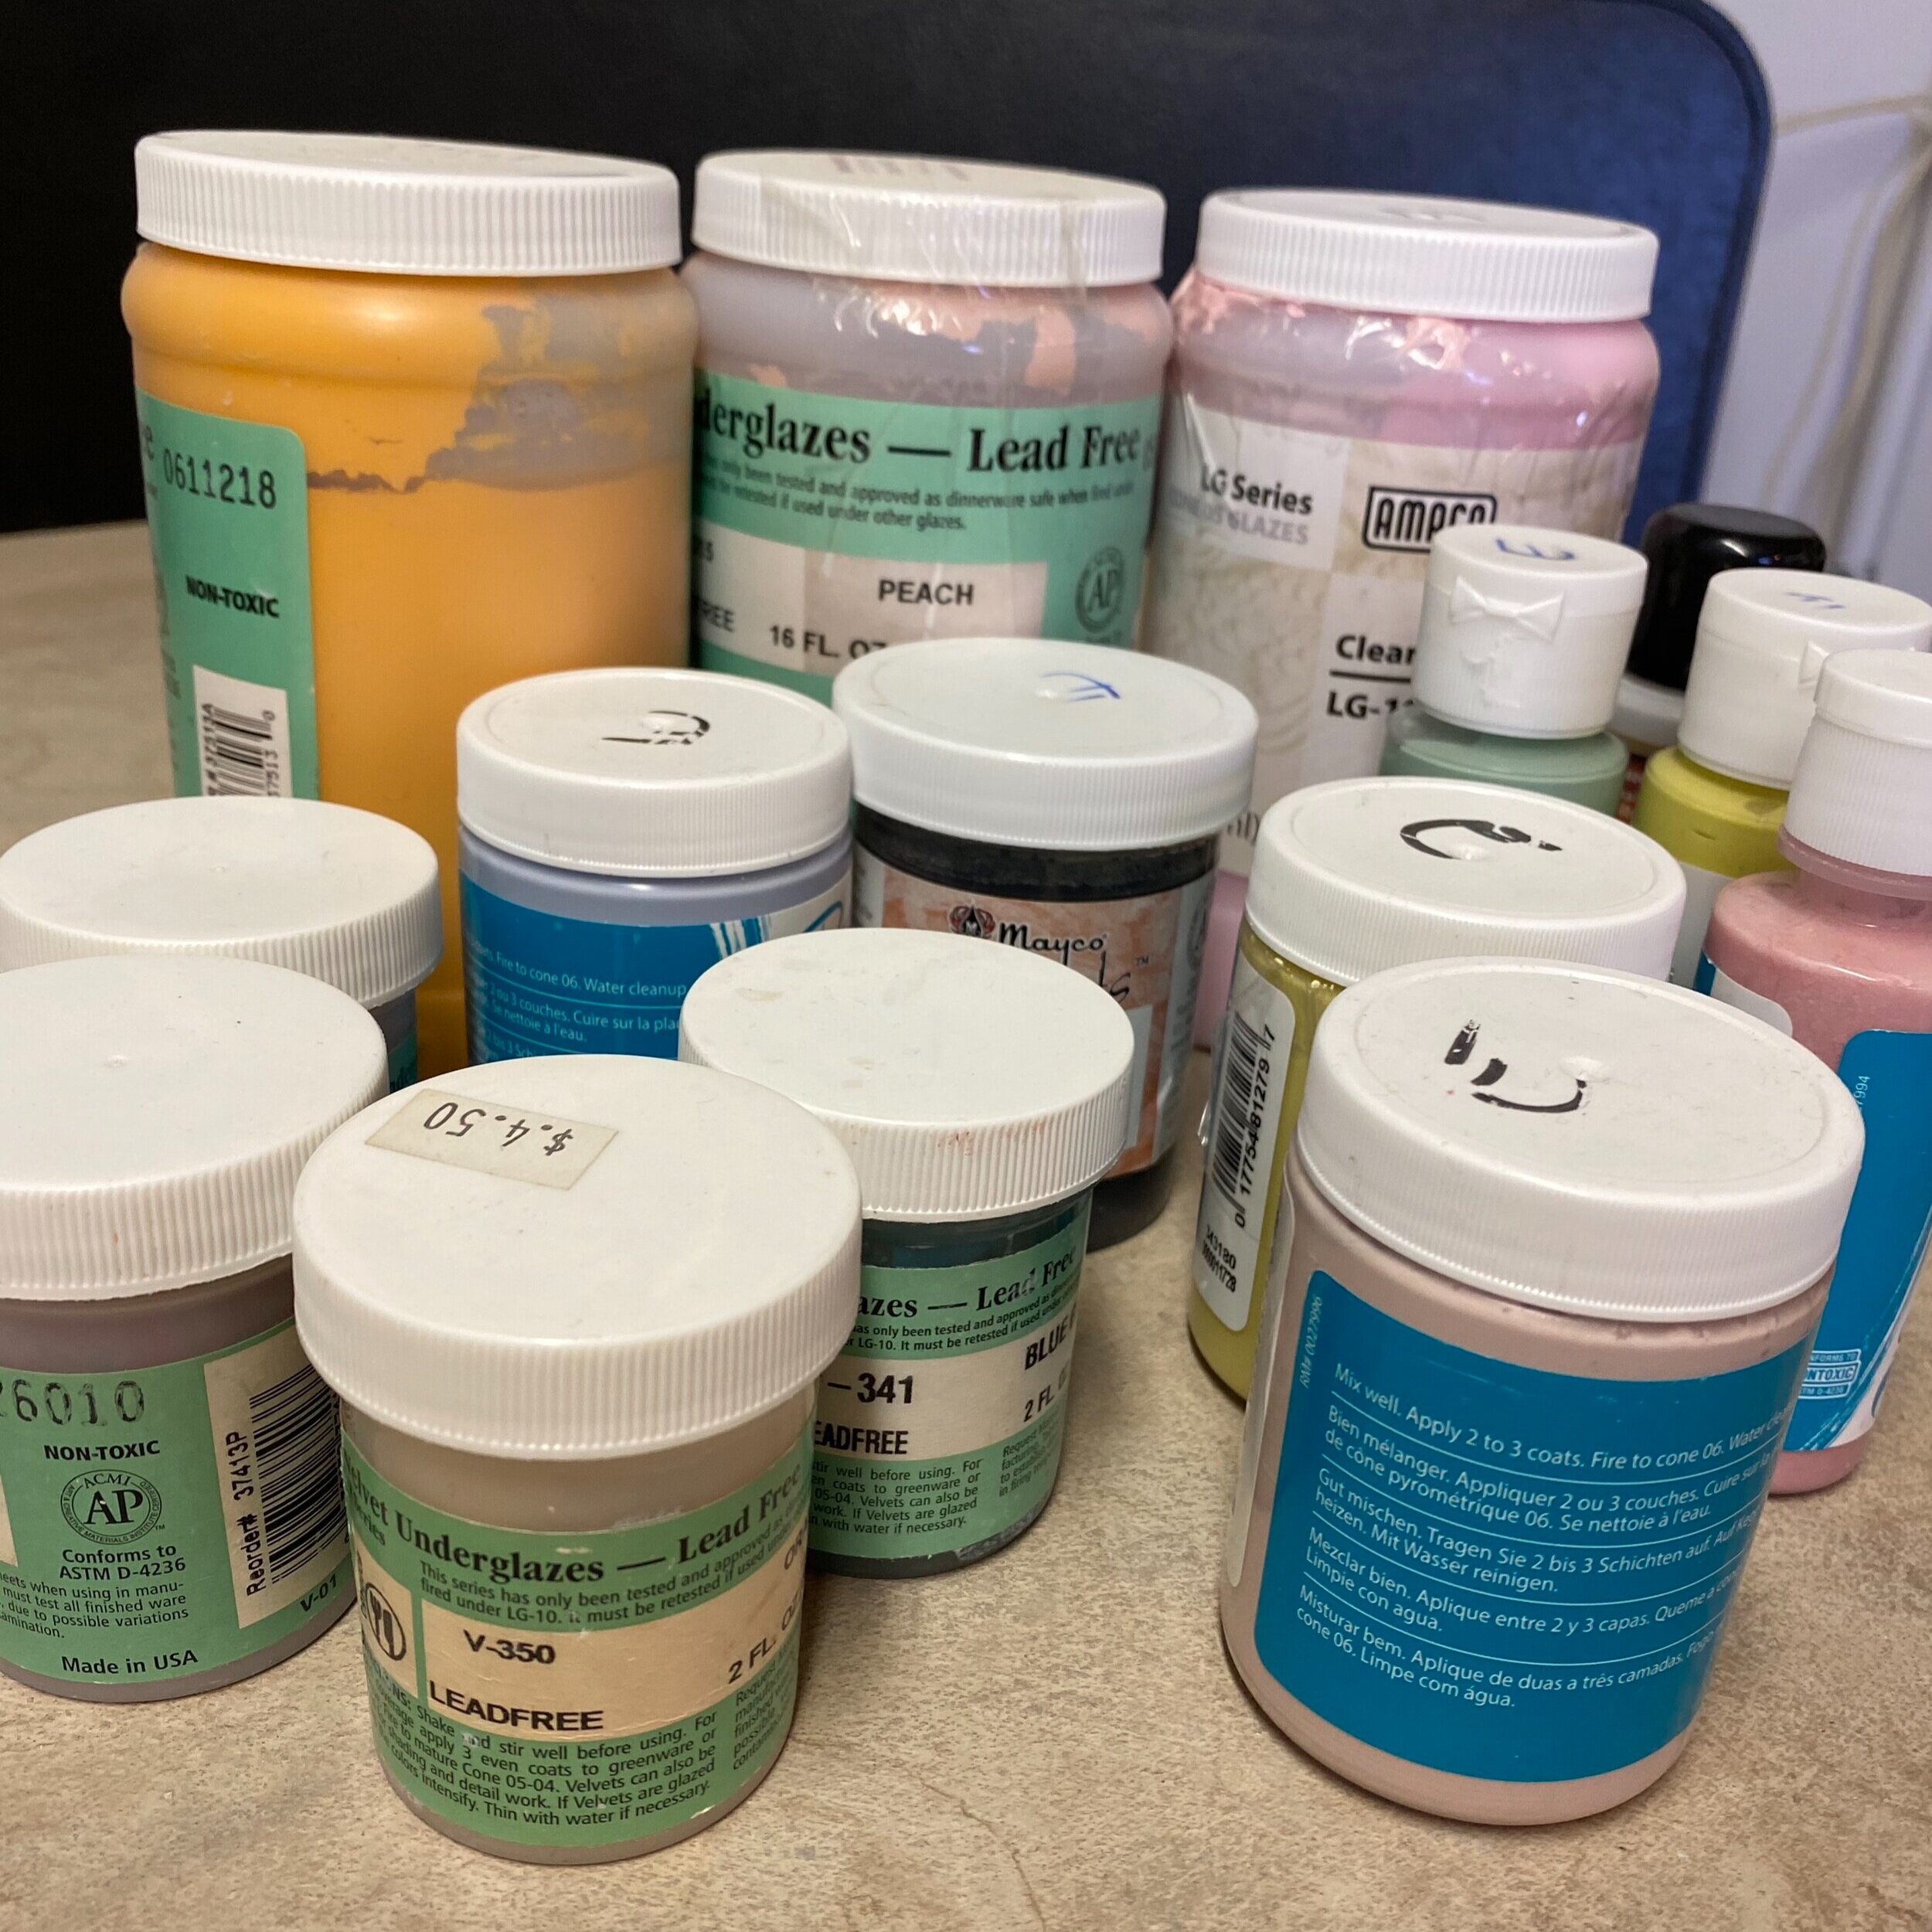
When doing ceramics on a more professional way, you discover that the paint you used is called underglaze. Not only that, you also discover there are glazes.
So, what’s the difference?
The difference between glazes and underglazes is that you cannot have underglazes without a glaze, but you can have glazes without an underglaze.
Let me explain it better. A glaze is a paint composed by a bunch of chemicals that, when added to a bisqued piece, it will make that glass shiny cover. An underglaze is a paint composed by a bunch of chemicals that you can add to greenware or bisqued pieces to add color but it will not add the glass part. For that, you will need to add a clear glaze on top of the underglaze color.
Why do I say clear glaze?
Because glazes can also have colors!
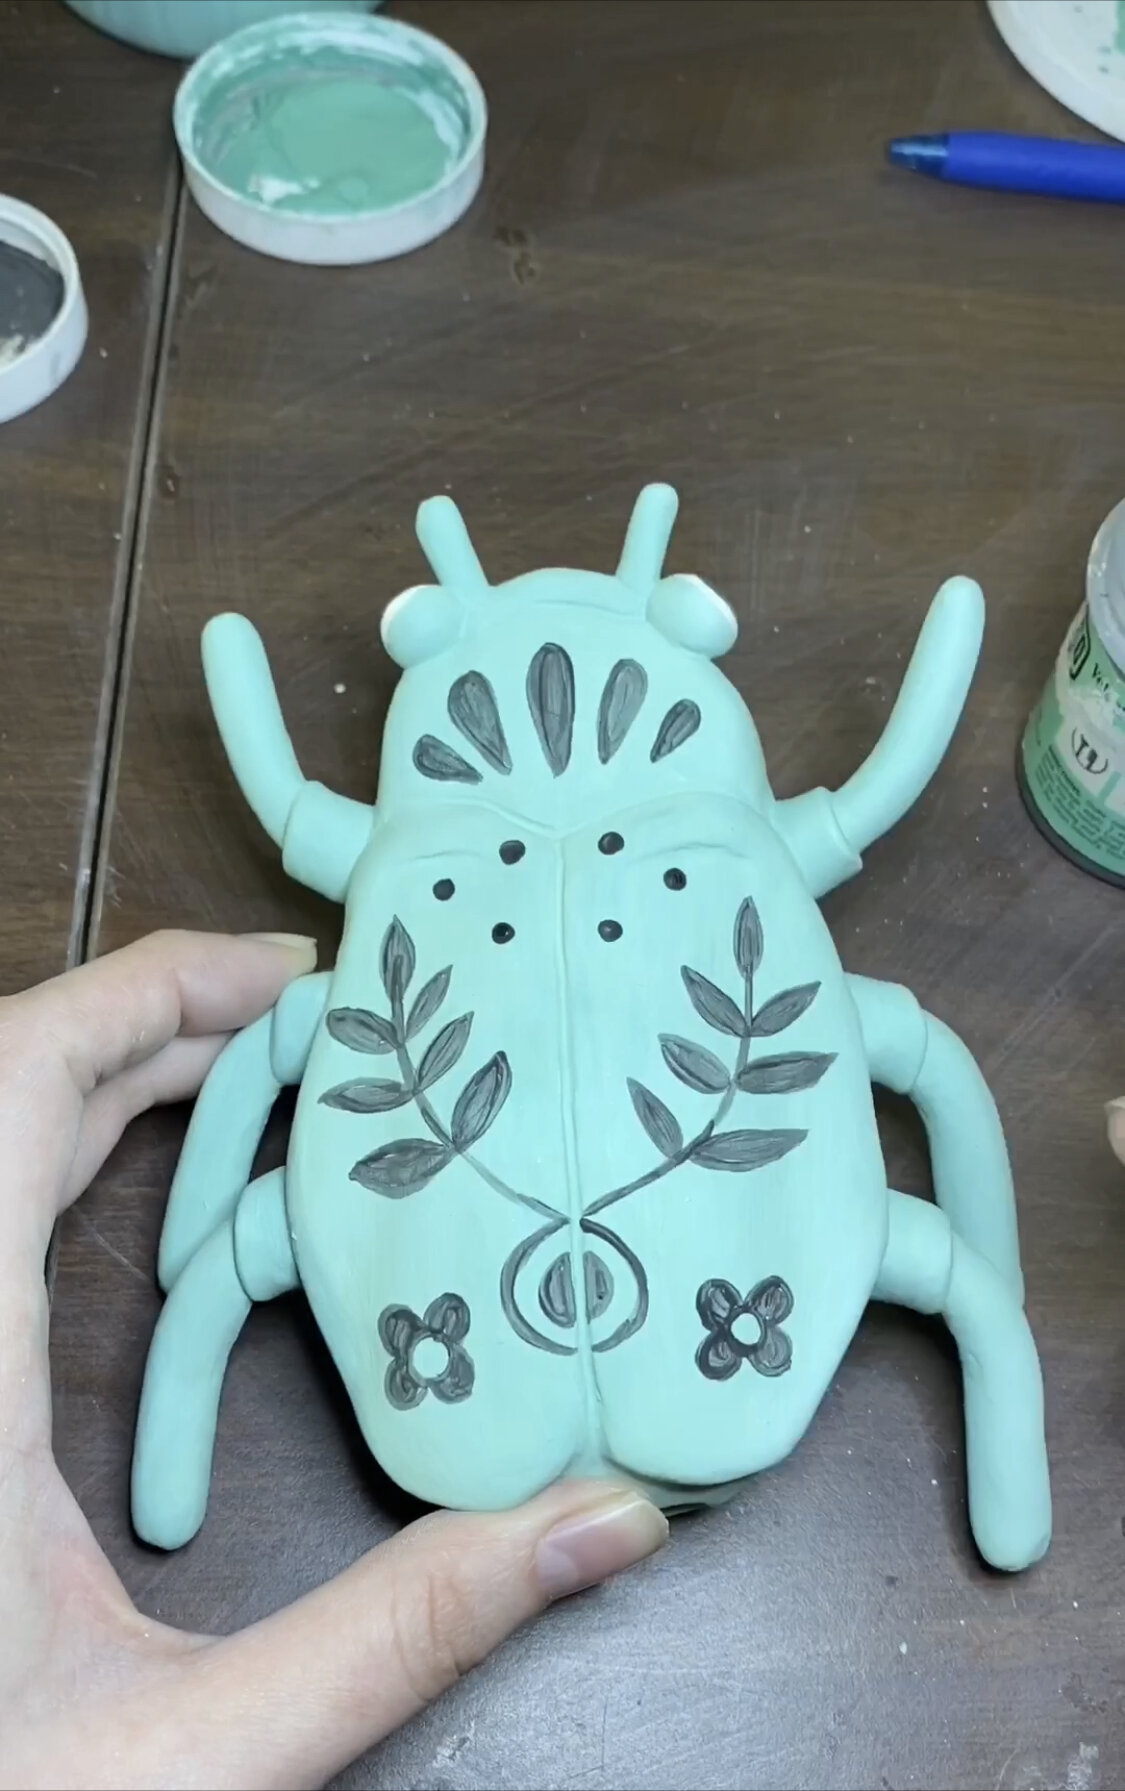
With underglazes you can add a big range of colors. You can also use techniques like sgraffito, that consists on adding layers of underglaze on a greenware piece and carve drawings on it.
Underglazes require you to paint 2-3 coats. If you don’t, once you add the clear glaze, the color will most likely fade away and barely show. For my pieces, as I like them to be very intense, I always do 3 coats. As someone that likes to add tiny mini details, this is sometimes a hassle because if I make a very thin dark line, I’ll have to go over it 2 more times and most likely I will add more paint that what I want to and make a thicker line or move over a little and mess it up. Still, you cannot do these sort of details with glazes.
*1 coat, 2 coats, and 3 coats of underglaze.
With glazes you can either paint or dip your pieces. If you paint the glaze, you’ll have to add 3 coats. If you dip the piece, it will have to be submerged around 3 seconds. Glazes tend to “run”, which makes it very difficult to do crisp designs because most likely it will show up as a blob. That’s why for painted details potters use underglazes instead.
When combining glazes and underglazes, you add first the underglaze and after the glaze. You need to have on mind that most colored glazes will cover completely your underglaze and it will not show. That is why it is recommended to create test tiles.
Test tiles
To see the effects of a colored glaze combined with an underglaze, you can always create test tiles.
I always test all my glazes to know if I have a semi transparent glaze that will show or not, or to check the glaze itself as it can turn out different from what it’s supposed to. Depending on the clay you use or the temperature you fire your ceramics at it can change a lot.
I usually add black underglaze on my test tiles because black is the strongest color and if that does not show, nothing will. As you can see some are completely covered, others show perfectly and the rest have a thin colored layer on top.
If you decide to paint underglazes on a bisqued piece, I would recommend letting the paint dry completely before adding the glaze on top and to be extremely careful on the first coat (if it’s a paint glaze). I’ve had the misfortune before of adding that first stroke of glaze onto my piece, smudging the underglaze with it, and losing the design.
There’s a lot to do with glazes and underglazes so my recommendation is play with them and see what do you like better, which combinations suit you best. There a lot of combinations and effects you can do, the best way to know what you like is through trial and error. Practice, experiment and most importantly, HAVE FUN!


